
Continuous integration
Currently, we offer two products:
- Repeato Studio: A desktop app that allows you to easily create and edit tests and test batches ➡ Documentation
- Repeato CLI: A headless Node.js test runner application, that will enable you to run test batches on a server. ➡ Documentation
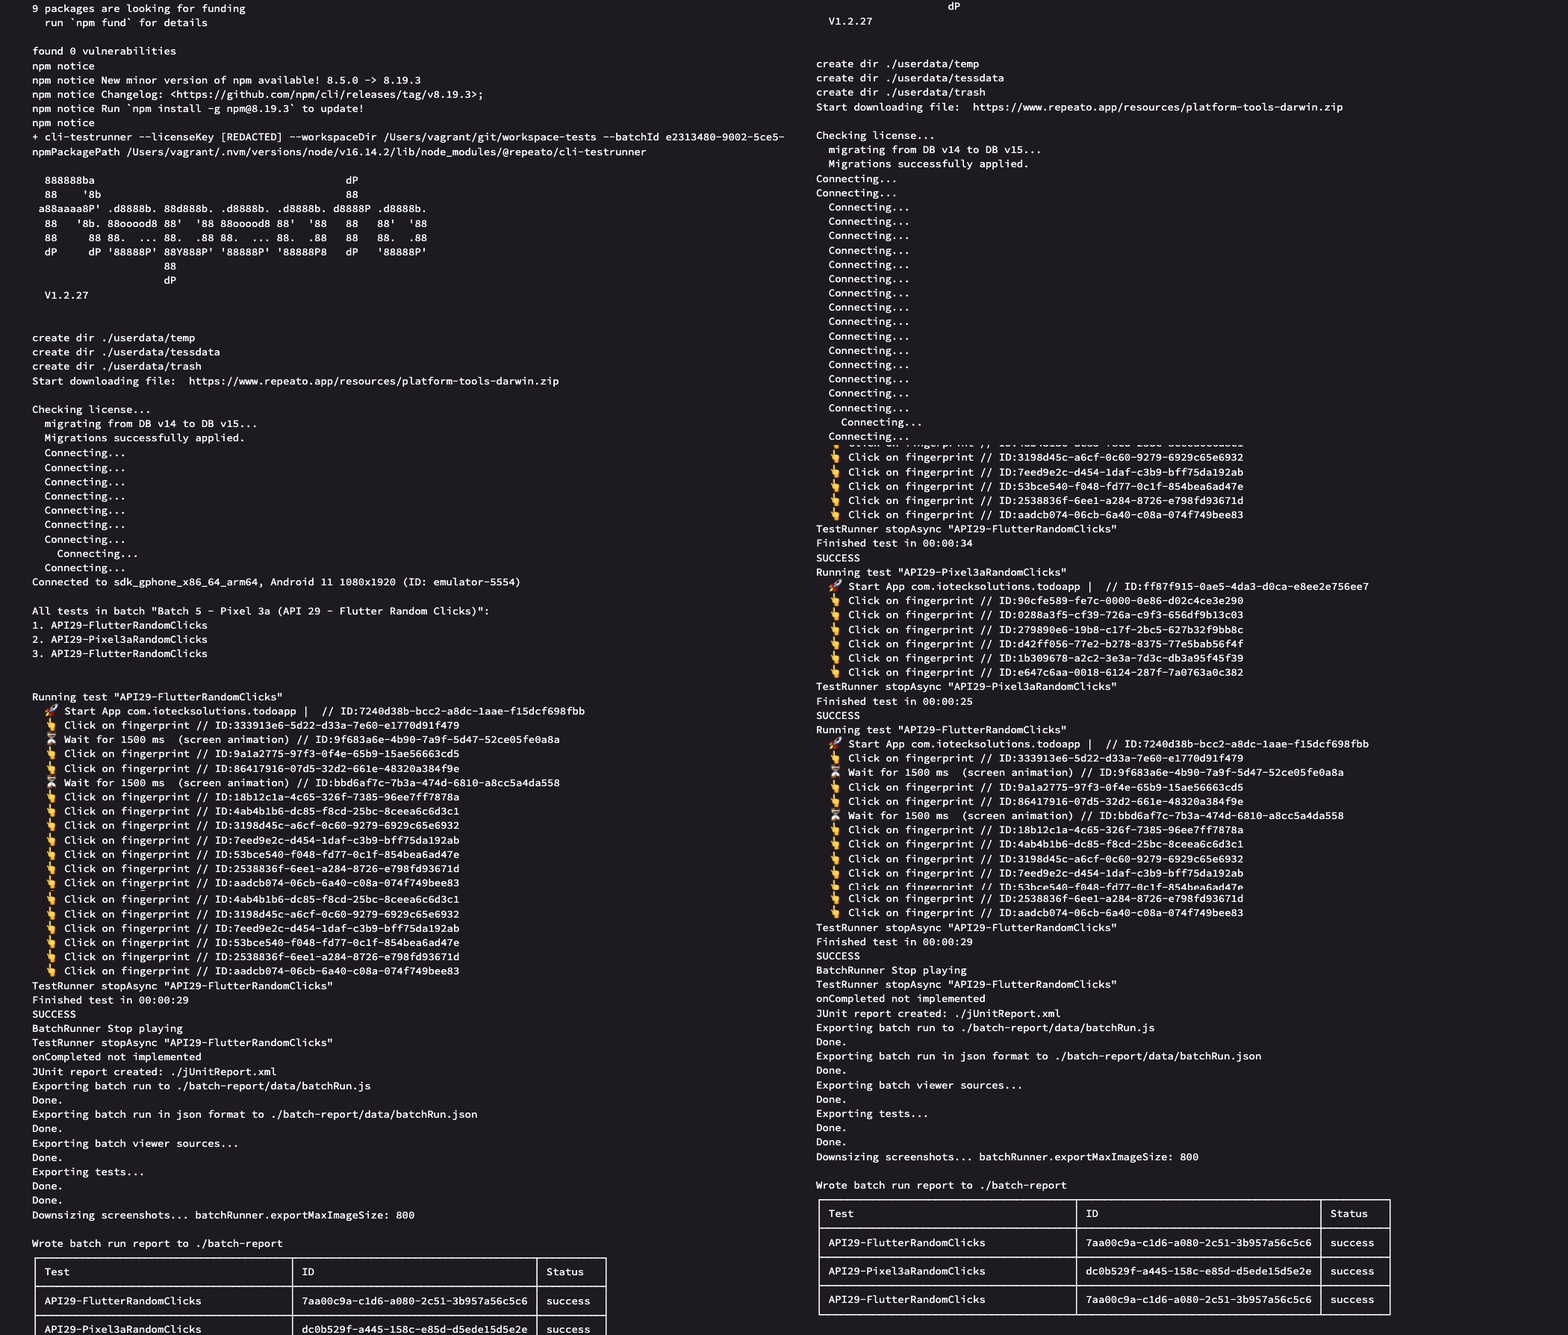
We currently don’t offer any cloud services for running your tests.
However, you can use our test runner to run tests on third-party services such as Github Actions, Bitrise, Codemagic or CircleCI.
Since those services only support virtual devices, we also recommend recording your tests on the same virtual devices. This way, you will get the best test stability and performance.
Before setting up your remote testing pipeline, you will have to make sure that your test workspace is pushed to some remote server (such as Github).
→ Here is how to start versioning your workspace via git.
Even though Repeato CLI will run on pretty much any server, we currently offer 4 setup guides (more to come):
Bitrise
Section titled “Bitrise”Add a “Repeato Test Runner” step to your workflow in the Bitrise Workflow Editor. You can also run the “Repeato Test Runner” step directly with Bitrise CLI.
The step takes care of checking the system requirements as well as installing and starting the headless Repeato CLI test runner. After running the tests, it sets the environment variables that can be used in consecutive steps.
Setup Steps
Section titled “Setup Steps”- Add the Repeato Test Runner Step to your Workflow as one of the Steps in your Workflow.
- Make sure your test workspace is checked out.
- Set the Workspace Path to point to the repeato workspace directory.
- Set the Batch Id. The batch ID of the test batch you want to execute.
- Set the Repeato Access Token(can be created here).
Please make sure the AVD or IOS emulator is configured properly. Further, your Android/iOS app build must be installed on the emulator before running the test batch. We recommend running the tests on the same device / emulator you originally used for creating them. This way you will get the most stability and performance.
For iOS Simulators there isn’t any step, that starts the simulator, as the xcodebuild test command for the iOS testing step boots the simulator by default.
Inputs
Section titled “Inputs”repeato-workspaceOutputs
Section titled “Outputs”repeato-workspaceTips & Troubleshooting
Section titled “Tips & Troubleshooting”The emulator needs some time to boot up. The earlier you place the step in your workflow, the more tasks, such as cloning or caching, you can complete in your workflow before the emulator starts working. We recommend that you also add Wait for Android emulator Step (in the case of android) to your workflow as it acts as a shield preventing the AVD manager to kick in too early. Make sure you add the Wait for Android emulator Step BEFORE the Repeato Test Runner Step so our step can use AVD Manager.
Demo Pipeline (Android / Flutter)
Section titled “Demo Pipeline (Android / Flutter)”Here is the our demo pipeline on Bitrise, which we’ve setup for our step testing (bitrise.yml can be downloaded here):

- AVD Manager
- Git Clone Repository
- Flutter Install for building our flutter-based app.
- Bitrise Cache pull
- Bitrise Cache push
- Wait For Androind Emulator
- Script - As our next final Repeato step needs fully ready & configured emulator, we are using commands for building the APK (
flutter build apk --split-per-abi) and sending to emulator usingadb install(make sure you send/install the apk compatible to your emulator settingsx86_64 or arm64etc…). You might have to configure different step for making the build and sending to device (depending upon your APP). Also make sure before the next step workspace-tests are cloned (if they are in separate repository) - SeeUseful linkssection below. - Repeato Test Runner Step
- Deploy to Bitrise.io - Artifacts The Repeato step copies the
batch-reportszip file and JUnit XML file into the bitrise upload directory($BITRISE_DEPLOY_DIR). You can use this step to upload the reports into the test artifacts section. You could also use FTP Upload or a Deploy to S3 step for uploading reports. - Export test results to Test Reports add-on This Step is to export the results to the Test Reports add-on. The Step creates the required test-info.json file and deploys the test results in the correct directory for export.
Useful links
Section titled “Useful links”GitHub Actions
Section titled “GitHub Actions”Repeato CLI Integration with GitHub Actions
Section titled “Repeato CLI Integration with GitHub Actions”This guide explains how to integrate Repeato CLI with GitHub Actions and replace the default demo workspace with your own Repeato Workspace.
Prerequisites
Section titled “Prerequisites”Before starting, ensure you have:
Section titled “Before starting, ensure you have:”- A GitHub account
- Repeato Studio installed
- A Repeato Workspace
- Android APK file
- Repeato Access Token
Step 1: Open Repeato Workspace
Section titled “Step 1: Open Repeato Workspace”- Open Repeato Studio
- Click Workspace from the top menu
- Copy the Workspace Path
Example:
C:\Users\UserName\RepeatoWorkspaceStep 2: Initialize Git in Repeato Workspace
Section titled “Step 2: Initialize Git in Repeato Workspace”Open Terminal / Command Prompt and navigate to your workspace.
Run: cd [workspace-path]
Example: cd C:\Users\UserName\RepeatoWorkspace
Initialize Git:
git init- ```git add .`
git commit -m "Initial commit"This converts your Repeato Workspace into a Git repository.
Step 3: Create GitHub Repository
Section titled “Step 3: Create GitHub Repository”- Open GitHub
- Click New Repository
- Create a new repository
Example repository name:
repeato-workspaceDo not add a README file while creating the repository.
Step 4: Push Workspace to GitHub
Section titled “Step 4: Push Workspace to GitHub”Copy your GitHub repository URL.
Example: https://github.com/yourusername/repeato-workspace.git
Run:
git branch -M maingit remote add origin https://github.com/yourusername/repeato-workspace.gitgit push -u origin mainStep 5: Add Repeato Access Token in GitHub
Section titled “Step 5: Add Repeato Access Token in GitHub”-
Login to Repeato Client Center
-
Navigate to:
Account → Access Tokens -
Click the Copy icon next to your token.
-
Open your GitHub repository.
-
Navigate to:
Settings → Secrets and variables → Actions -
Click New repository secret
Add the following:
Secret Name-REPEATO_ACCESS_TOKEN
Secret Value- Paste the copied Repeato access token.
- Click Add Secret.
Your GitHub Action will now be able to authenticate with Repeato CLI.
Example
Section titled “Example”If your workflow contains:
env:REPEATO_ACCESS_TOKEN: ${{ secrets.REPEATO_ACCESS_TOKEN }}GitHub will automatically use the token you saved in Repository Secrets.
**Important:**Do not paste the access token directly inside the YAML file. Always store it in GitHub Secrets for security.
Step 6: Create Workflow File
Section titled “Step 6: Create Workflow File”Inside your GitHub repository, create this folder structure: .github/workflows/
Create a file: workflow.yml
Step 7: Add GitHub Workflow Configuration
Section titled “Step 7: Add GitHub Workflow Configuration”Paste the following configuration into workflow.yml.
name: Integration with REPEATO CLIon: [push, workflow_dispatch]permissions:  contents: write
jobs:  repeato-cli:    name: Build and run repeato tests using Repeato CLI    runs-on: ubuntu-latest    steps:      # Configure Node.js. Version 20 required by @repeato/cli-testrunner >= 1.9 (sharp dependency)      - uses: actions/setup-node@v4        with:          node-version: '20'
      # Validate Repeato access token      - name: Validate Repeato access token        env:          REPEATO_ACCESS_TOKEN: ${{ secrets.REPEATO_ACCESS_TOKEN }}        run: |          if [ -z "$REPEATO_ACCESS_TOKEN" ]; then            echo "REPEATO_ACCESS_TOKEN secret is not set."            exit 1          fi
      # Check out the app source code      - uses: actions/checkout@v4
      # Check out the Repeato test workspace      - name: Checkout workspace repo        uses: actions/checkout@v4        with:          repository: repeato-qa/demo-workspace          path: workspace-tests          clean: false
      # Enable KVM for hardware-accelerated Android emulation on Ubuntu      - name: Enable KVM group perms        run: |          echo 'KERNEL=="kvm", GROUP="kvm", MODE="0666", OPTIONS+="static_node=kvm"' | sudo tee /etc/udev/rules.d/99-kvm4all.rules          sudo udevadm control --reload-rules          sudo udevadm trigger --name-match=kvm          mkdir -p ~/.android/avd
      # Start emulator and run the tests via npx @repeato/cli-testrunner      - name: run tests        uses: reactivecircus/android-emulator-runner@d7b53ddc6e44254e1f4cf4a6ad67345837027a66        timeout-minutes: 20        env:          REPEATO_ACCESS_TOKEN: ${{ secrets.REPEATO_ACCESS_TOKEN }}          ANDROID_AVD_HOME: /home/runner/.android/avd        with:          api-level: 29          arch: x86_64          target: google_apis          profile: pixel_3a          force-avd-creation: false          emulator-options: -no-snapshot-save -no-window -gpu swiftshader_indirect -noaudio -no-boot-anim -camera-back none -no-metrics          disable-animations: true          script: |            adb kill-server            adb start-server            npx @repeato/cli-testrunner --workspaceDir "${GITHUB_WORKSPACE}/workspace-tests" --batchId 0 --accessToken "$REPEATO_ACCESS_TOKEN" --outputDir "${GITHUB_WORKSPACE}/batch-report"
      # Upload the batch test report (screenshots + results) even on failure, for debugging      - name: Upload test report        if: always()        uses: actions/upload-artifact@v4        with:          name: batch-report          path: batch-report/
Step 8: Update Repository Name
Section titled “Step 8: Update Repository Name”Replace this line: repository: yourusername/repeato-workspace
Step 9: Commit and Push Changes
Section titled “Step 9: Commit and Push Changes”Run:
git add .git commit -m "Added Repeato GitHub workflow"git pushStep 10: Verify GitHub Action
Section titled “Step 10: Verify GitHub Action”- Open your GitHub repository
- Click Actions
You should see:Integration with REPEATO CLI running automatically.
The workflow will:
- Launch Android Emulator
- Download Repeato Workspace
- Run Repeato Tests
- Generate Test Report
- Upload Batch Report Artifact
Important Notes
Section titled “Important Notes”- Replace the GitHub repository URL with your own repository.
- Replace
repeato-workspacewith your actual workspace repository name if different. - Ensure
REPEATO_ACCESS_TOKENis added in GitHub Secrets. - Node.js version
20is required for newer Repeato CLI versions.
Codemagic
Section titled “Codemagic”Codemagic is a cloud-based continuous integration and delivery (CI/CD) service that enables developers to build, test, and deploy their mobile apps to multiple platforms. It is a part of the Flutter ecosystem and supports both Flutter and React Native apps. Codemagic can help developers automate many of the tasks involved in building mobile apps, including testing, building, and deploying to app stores.
Setup Steps
Section titled “Setup Steps”Here are the steps to follow:
- Go to www.codemagic.io, and create an account if you don’t already have one
- Create a new Codemagic project and select your Git repository.
- Choose the platform you want to build for (iOS, Android, or both).
- Configure the build settings, including the build type, version number, and bundle identifier.
- Add any required environment variables or secrets.
- Test your workflow: Create a build and wait for it to complete.
Example Workflows
Section titled “Example Workflows”This is what the the workflow does, as soon as you push changes to your Git repository:
- Build Workflow:
Environment setup 2. Flutter setup/installation 3. Flutter APK build 4. Add the generated APK build in artifacts
Test Run Workflow
- Setup environment with node and flutter version
- Launch emulator
- Install app in emulator
- Run Repeato tests
- Publish the Repeato test reports toS3 bucket
- Optionally send the notification on slack on build complete
- If the build fails, you will receive a notification and can investigate the issue.
workflows: build-workflow: name: Build Workflow instance_type: mac_pro max_build_duration: 120 environment: node: 16.19.0 flutter: 3.0.1 groups: - standard scripts: - name: Set up local.properties script: | #!/usr/bin/env zsh echo "flutter.sdk=$HOME/programs/flutter" > "$CM_BUILD_DIR/android/local.properties" - name: Get Flutter packages script: flutter packages pub get - name: Build apk with Flutter script: flutter build apk publishing: scripts: - name: List exported files script: | ls -la $CM_EXPORT_DIR artifacts: - build/**/outputs/apk/**/*.apk test-android-workflow: name: Test Workflow instance_type: mac_pro max_build_duration: 120 environment: node: 16.19.0 flutter: 3.0.1 groups: - standard scripts: - name: Set up local.properties script: | #!/usr/bin/env zsh echo "flutter.sdk=$HOME/programs/flutter" > "$CM_BUILD_DIR/android/local.properties" - name: Launch emulator script: | emulator @emulator & # Use `emulator -list-avds` to list all emulators adb wait-for-device # wait for the emulator to finish loading - name: Install app script: | adb install app.apk - name: Wait for 20 seconds script: sleep $((20*1)) - name: Run Repeato tests script: | npx @repeato/cli-testrunner \ --workspaceDir "demo-workspace" \ --logLevel "DEBUG" \ --batchId 0 \ --accessToken "$REPEATO_ACCESS_TOKEN" \ --waitDurationBetweenSteps 2000 \ --timeoutFactor 1.5 \ --outputDir "$CM_EXPORT_DIR/batch-report" publishing: scripts: - name: List exported files script: | ls -la $CM_EXPORT_DIR ls -la $CM_EXPORT_DIR/batch-report - name: Publish to S3 bucket script: | sudo pip3 install awscli --upgrade aws s3 sync "$CM_EXPORT_DIR/batch-report" s3://repeato-batch-result-demo/batch-report echo "open report here: https://repeato-batch-result-demo.s3.eu-central-1.amazonaws.com/batch-report/index.html" slack: channel: '#dev' notify_on_build_start: false # To receive a notification when a build starts notify: success: true failure: true- Repeato CLI is currently only officially supported on Codemagics’ Mac machines.
Appcircle
Section titled “Appcircle”Appcircle is a cloud-based platform for continuous integration and continuous delivery (CI/CD) that helps automate the build, test, and deployment processes of mobile applications. It offers a comprehensive set of tools and features to automate and streamline the build, test, and deployment processes of mobile applications.
Additionally, with Appcircle self-hosted, you can host the CI/CD infrastructure on your own servers or in a private cloud environment, providing you with complete control and ownership over the infrastructure.
Prerequisites
Section titled “Prerequisites”Before you begin, make sure you have the following:
- An active account on Appcircle and Repeato
- Access to your project in both Appcircle and Repeato
- Your mobile application source code stored in a version control system (e.g., GitHub, Bitbucket, GitLab)
Configuring the CI/CD Workflow
Section titled “Configuring the CI/CD Workflow”- In Appcircle, go to your project’s build page and select the “Workflows” tab.
- To integrate Repeato into the workflow, click “Manage Workflow” and add “Repeato Test Runner” from the list of available steps.
- Add the “Xcodebuild for iOS Simulator” step for iOS or the “Wait for Android Emulator” for Android, before the “Repeato Test Runner” step.
- Add the “Test Reports” step after the “Repeato Test Runner” step. This will allow the test results to be displayed on the build page.
- Configure the Repeato step by providing the necessary parameters such as “Batch ID”, “Access Token” and “CLI Version” with the information you get from Repeato.
- Configure the remaining fields, “Workspace Path” and “Log Level,” with the necessary information.
- Save the workflow configuration.
Important Note: For the “Test Reports” step, make sure to enable the “Always run this step even if the previous steps fail” option. This ensures that you will receive reports for both successful and failed tests.
Running the CI/CD Workflow
Section titled “Running the CI/CD Workflow”- Trigger the workflow manually or configure automatic triggers, such as on commit or merge events, depending on your preferences.
- Appcircle will initiate the workflow, which includes the build, test, and deployment steps.
- The Repeato step in the workflow will execute the specified test cases and workflows using the Repeato API.
- Appcircle will provide detailed logs and reports for each step, including the Repeato test results.
Get even more detailed information and tips on the Appcircle website